In our first part Using Github Container Registry to Store Helm Charts, we ended up centralizing our Helm Charts in Github, but now what’s next?
The next step is to use them from ArgoCD to follow our beloved GitOps principles.
Prerequisites#
- Have followed the tutorial mentioned above or achieved “the same” in some way,
- External Secrets Operator (although it can be replaced with any equivalent like SOPS or Sealed Secrets).
- An instance of ArgoCD running.
Generating a Token in Github#
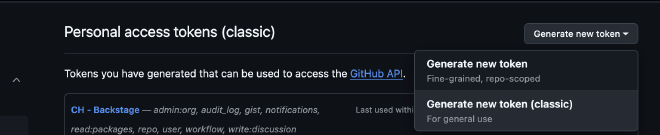
The first thing we need to do is go to Github, to the Personal Access Tokens section, and generate a Personal Access Token. Once there, click the Generate new token button.
Give the token a suitable name, in my case Helm - ArgoCD and we set the expiration time to 90 days so you have to rotate it every 3 months for security
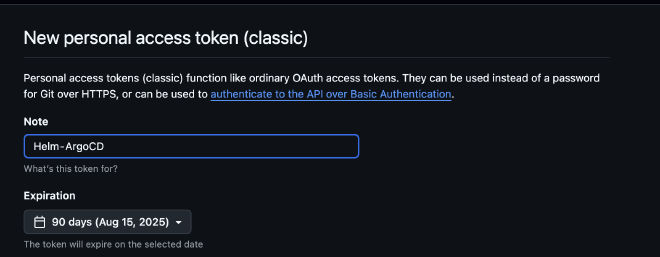
Regarding the scopes, we select read:packages, which is what we need to be able to read the packages, and click the Generate token button.

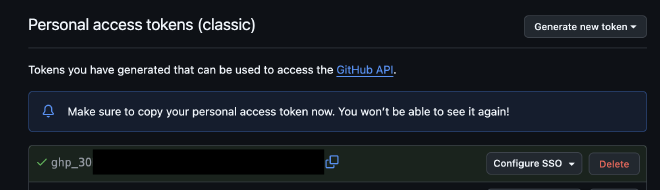
Once generated, we proceed to copy it for later use.
Storing it Securely in Parameter Store#
Personally, I really like the combination of External Secrets Operator (ESO) with AWS SSM (Parameter Store), which allows you to manage sensitive information with GitOps principles.
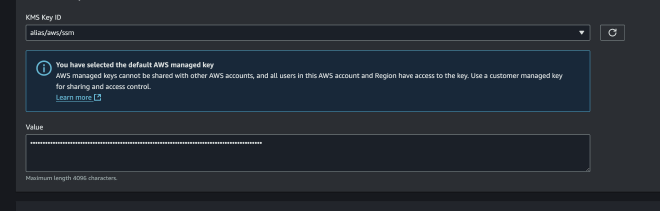
For this, go to your AWS account and create a new secret in Parameter Store. For the name, I chose something easy to find, /argocd/ghcr/token. In Description, enter something appropriate, and for Type, select Secure String.
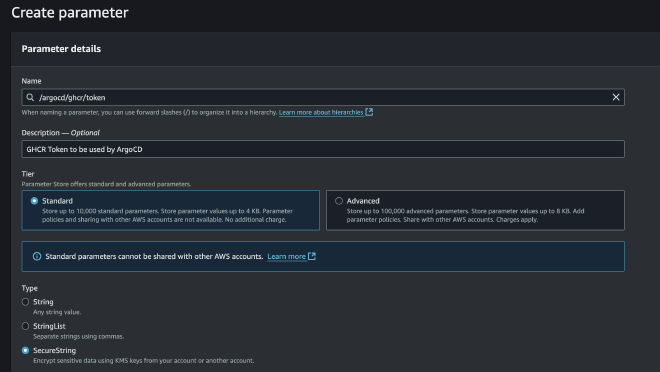
Paste the token you generated earlier in Github into Value, and finally click Create Parameter.
Generating the Secret for ArgoCD#
Once your token is safely stored in SSM, it’s time to generate a secret that ArgoCD can use, and we’ll do this declaratively.
As seen in the examples here, the secret needs some particularities like labels and must be created in the argocd namespace, in this case using ESO. The following example summarizes how it would be used:
# private-repo.yaml
apiVersion: external-secrets.io/v1beta1
kind: ExternalSecret
metadata:
  name: eso-argocd-private-gcr
  namespace: argocd
spec:
  secretStoreRef:
    name: external-secrets-operator-cluster-store
    kind: ClusterSecretStore
  target:
    name: argocd-private-gcr
    template:
      engineVersion: v2
      metadata:
          labels:
            argocd.argoproj.io/secret-type: repository
            app.kubernetes.io/name: argocd-private-gcr
            app.kubernetes.io/part-of: argocd
          annotations:
            managed-by: argocd.argoproj.io

      data:
        url: ghcr.io/elposhox
        name: GCR
        type: helm
        enableOCI: 'true'
        username: 'ElPoshoX'
        password: '{{ .ghcr_token }}'

  data:
  - secretKey: ghcr_token
    remoteRef:
      key: /argocd/ghcr/token
One of the most important parts is the data section, where we assign the name ghcr_token (getting the value from /argocd/ghcr/token) and use it above in password: '{{ .ghcr_token }}'. Likewise, we use argocd.argoproj.io/secret-type: repository to make this source available as a repository type, and finally, the url where the Helm charts we previously hosted will be (our Github Packages URL).
Applying the Manifest#
A simple step: once the above file is created, run the command kubectl apply -f private-repo.yaml and the secret should be created in your cluster.


Syncing and Verifying#
Once this is done and ArgoCD is synced, you can go to Settings > Repositories and you’ll see your repository pointing to Github Container Registry with Helm enabled.

Using our Helm Chart in ArgoCD#
Finally, deploy an application using your Helm Chart and a source, as shown below:
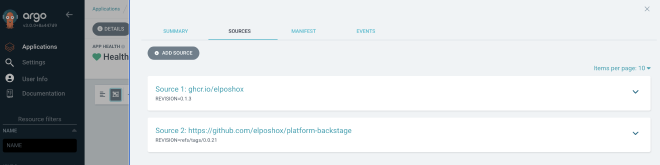
And that’s it! You’ll see your application deploys without any issues.
Hope this was helpful!